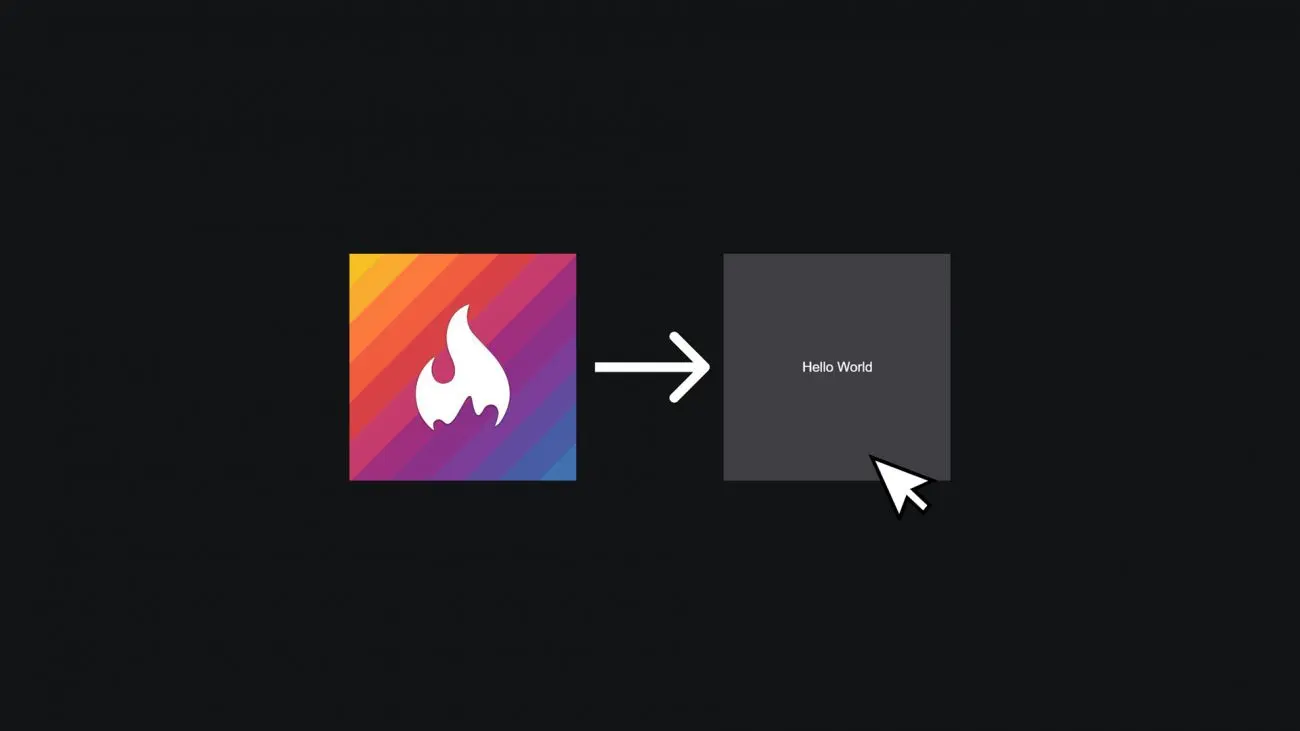
We've already seen how to create an element that appears when hovering the mouse over an image, but in this article, here's how to display a bunch of information in a very smooth way by hovering over an element!
The entire tutorial is also available on our Instagram account.
Step 1
The HTML code.
<div class='card'>
      <div class='info'>
        <h1 class='title'>Tokyo</h1>
        <p class='description'>Tokyo, the vibrant capital of Japan, combines ultra-modern and traditional styles in a mix of skyscrapers with bright neon lights and ancient temples. The sumptuous Meiji-jingū is a Shinto shrine renowned for its imposing entrance and surrounding woods. The Imperial Palace is surrounded by vast public gardens. The city's numerous museums offer exhibitions ranging from classical art at the National Museum of Tokyo to a reconstructed kabuki theater and the Edo-Tokyo Museum.</p>
      </div>
    </div>
Each element of the timeline has its own timeline-object.
Step 2
Let's style the card.
.card {
      border-radius: 16px;
      margin: 0 auto;
      width: 500px;
      max-width: 100%;
      min-height: 500px;
      box-shadow: 0px 3px 5px -1px rgba(0, 0, 0, 0.2);
      overflow: hidden;
      background-image: url(https://cdn.pixabay.com/photo/2019/04/20/11/39/japan-4141578_960_720.jpg);
      background-size: cover;
    }
Step 3
Let's tackle the div containing the information.
.info {
      position: relative;
      width: 100%;
      height: 500px;
      background-color: #fff;
      transform: translateY(100%)
        translateY(-88px)
        translateZ(0);
      transition: transform 0.3s ease-out;
    }
Step 4
Let's add a background to the div containing the information.
.info:before {
      z-index: -1;
      display: block; position: absolute;
      content: ' ';
      width: 100%; height: 100%;
      overflow: hidden;
      background-image: url(https://cdn.pixabay.com/photo/2019/04/20/11/39/japan-4141578_960_720.jpg);
      filter: blur(10px);
      background-size: cover;
      opacity: 0.25;
      transform: translateY(-100%)
        translateY(88px)
        translateZ(0);
      transition: transform 0.3s ease-out;
    }
Here, we style the background of the div containing the information using :before.
This allows us to add a background that covers the entire height and width of the div, while giving us the ability to blur it with the blur filter.
Step 5
Let's style the title and the description.
.title {
      margin: 0;
      padding: 24px;
      font-size: 40px;
      line-height: 1;
      color: rgba(0, 0, 0, 0.87);
    }

    .description {
      margin: 0;
      padding: 0 24px 24px;
      font-size: 18px;
      line-height: 1.5;
    }
Step 6
Now we just need to detect the hover over the card to complete this code!
.card:hover .info,
.card:hover .info:before {
      transform: translateY(0) translateZ(0);
    }
Conclusion
That's how you can create text that appears on hover! If you want to make it even simpler and you're wondering: how to make text appear when hovering over an image? Just add the title="text to be displayed" attribute to your img tag.