Whether to quickly inform your users that a feature of your site is not yet available or to notify them that an action has been successfully completed, notifications are the simplest and most modern way to implement them. Let's discover in this article how to do it!
Step 1
Let's start with the HTML.
<button>
  Create an account
</button>

<div id="notification">
  🎉 Account successfully created 🎉
</div>
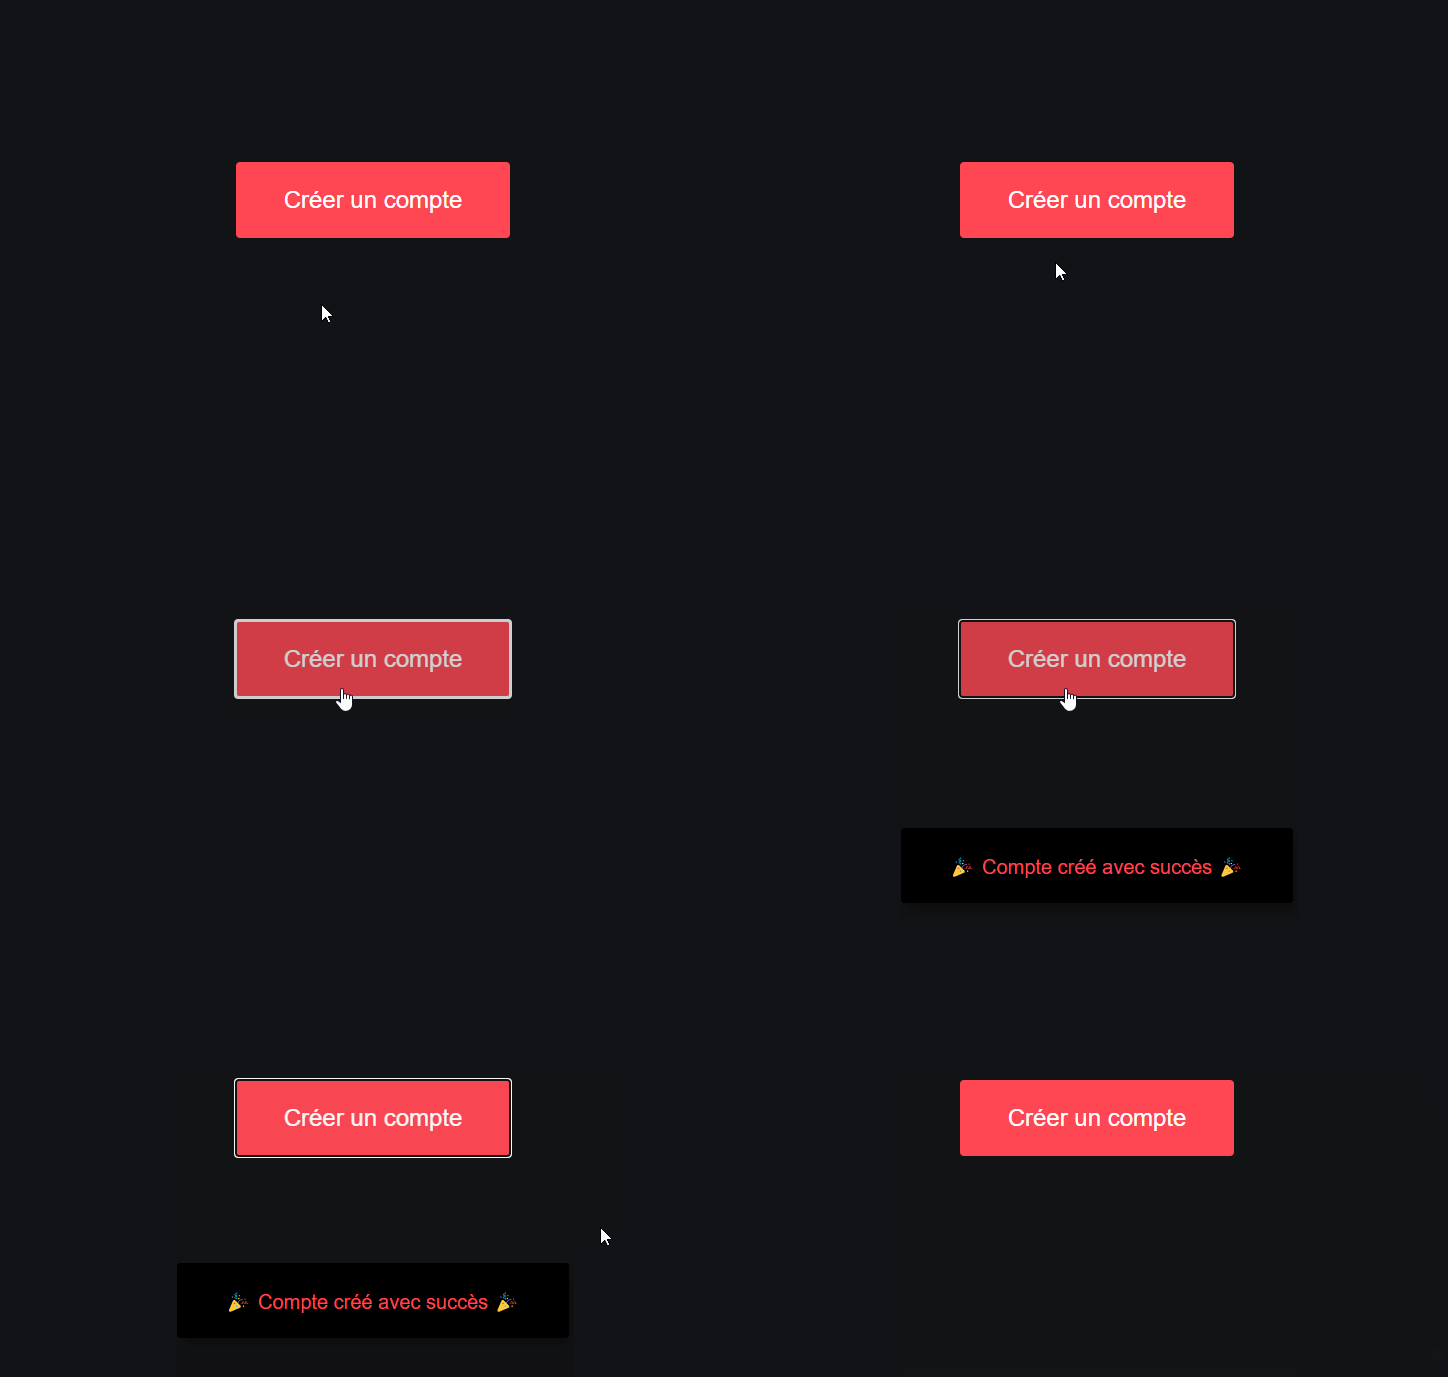
When we click on the button, the notification will appear like magic!
Step 2
Let's style the button.
button {
  font-size: 1.2rem;
  color: #fff;
  background: #ff4754;
  padding: 1.2rem 2.4rem;
  border-radius: 0.2rem;
  transition: all 0.2s;
}

button:hover {
  cursor: pointer;
  opacity: 0.8;
}
We continue just by playing with the variables for colors.
Step 3
Let's take care of the notification.
#notification {
  position: fixed;
  bottom: -8rem;
  color: #ff4754;
  background: #000;
  padding: 1.2rem 2.4rem;
  border-radius: 0.2rem;
  box-shadow: 3px 6px 12px rgba(0, 0, 0, 0.4);
  transition: all 0.4s;
}
The secret lies in this class. In the previous step, we precisely set that our notification should be hidden thanks to the bottom property.
Step 4
Let's create the class show.
#notification.show {
  bottom: 2rem;
}
All that remains is to add and remove the class show from our message.
Step 5
Let's select our elements with JavaScript.
const button = document.querySelector('button');
const toast = document.querySelector('#notification');
We simply select our two elements: our button and our message.
Step 6
button.addEventListener("click", () => {
  toast.classList.add("show");
  setTimeout(() => {
    toast.classList.remove("show");
  }, 2000);
});
When our user clicks on the button, we add the class show and then remove it after two seconds to make the message disappear.