Differences Between "Controlled" and "Uncontrolled" Inputs
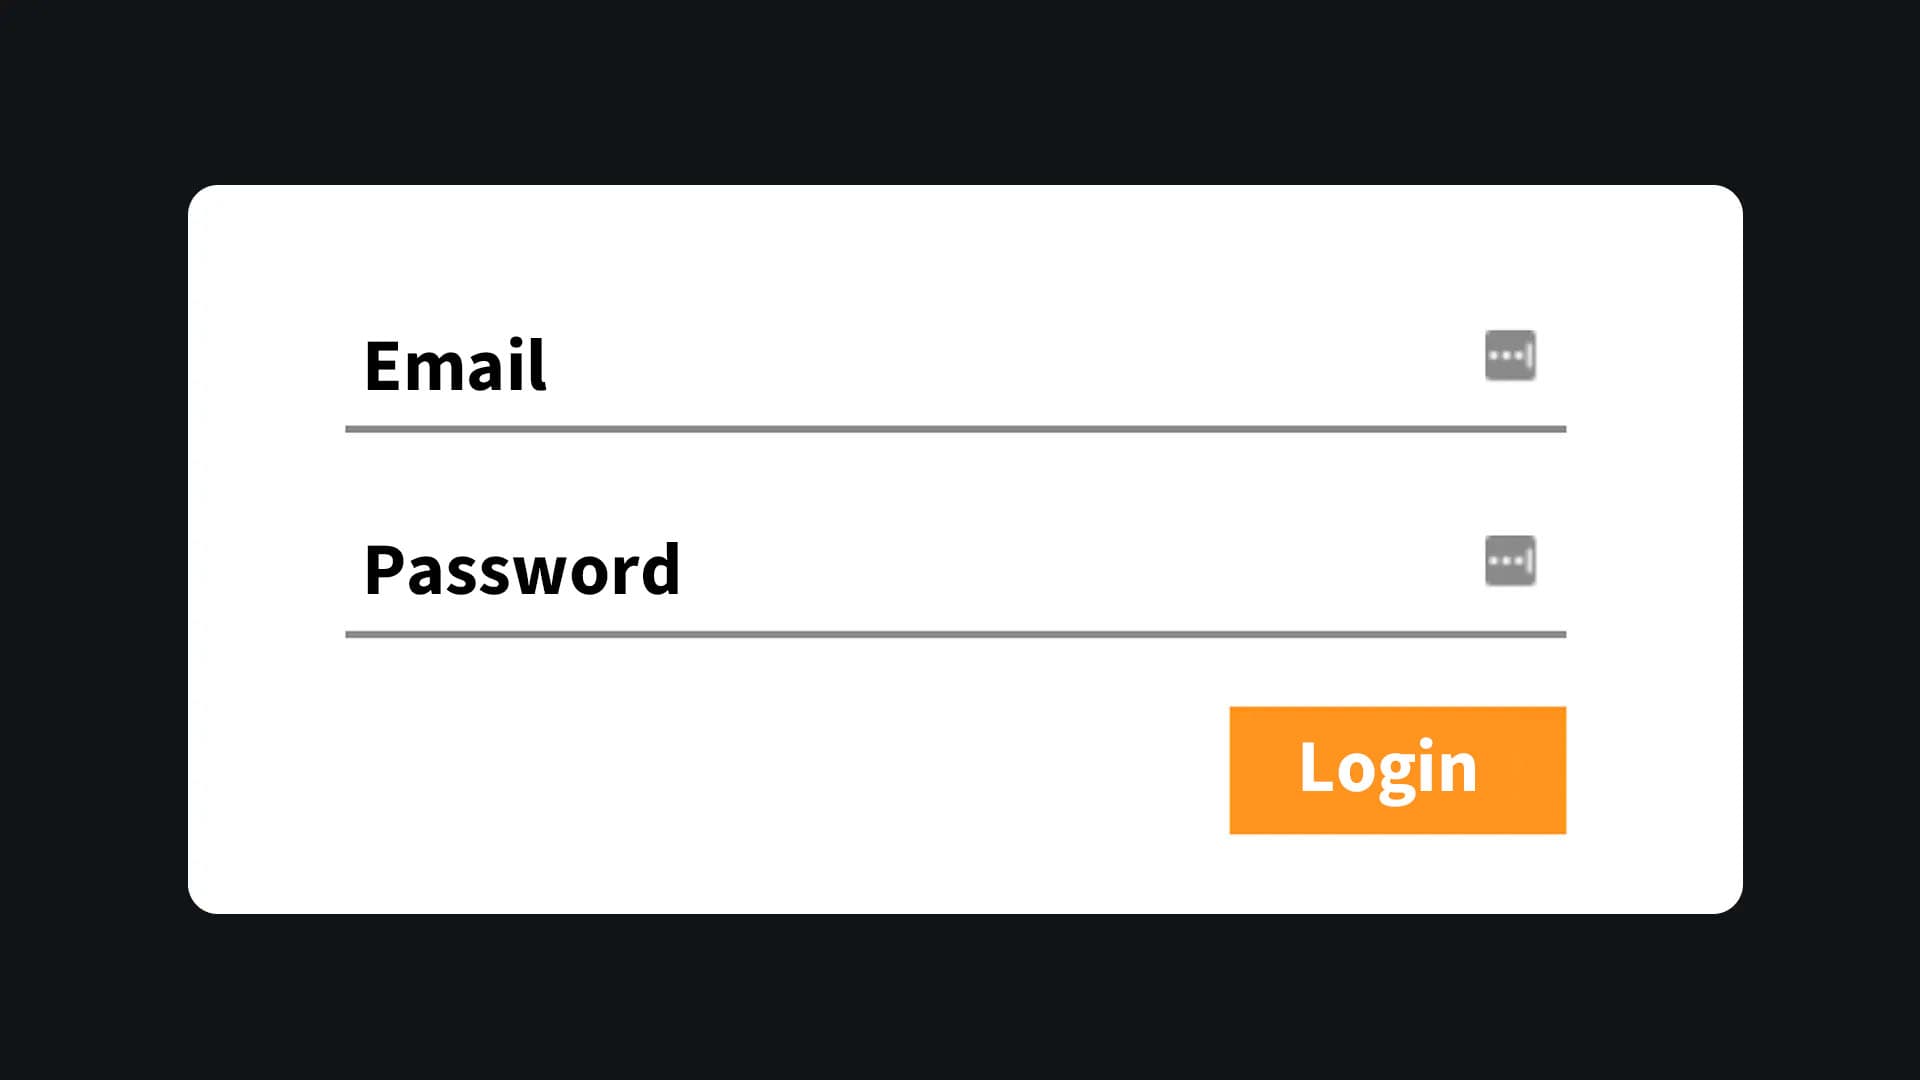
Controlled and uncontrolled inputs are two different approaches to managing user input in React forms.
In the case of controlled inputs, the form state is managed by React, and the value of each input is linked to a state variable via the `value` attribute. This approach ensures complete control over the input data and allows for validation and formatting operations before form submission.
In the case of uncontrolled inputs, React does not manage the input state. Instead, the value of the inputs is determined by the DOM via the `defaultValue` attribute. Data is retrieved directly from the DOM, usually upon form submission. While this approach is simpler to implement, it can lead to difficulties when performing real-time data validation or finely controlling form behavior.
Controlled Input
A "controlled" input is an input that is managed via state. Its value is linked to this state and cannot be modified directly. The only way to change its value is by using a useState hook and the onChange event.
const ControlledInput = () => {
  const [value, setValue] = useState("");
  return (
    <input value={value}
           onChange={(e) => { setValue(e.target.value) }} />
  )
}
The issue with this approach is that every time the user types a letter, it causes a re-render of the input. This is because the input's value is not managed by the DOM but by React.
Here is an example of a simple form with controlled inputs:
const SignUp = () => {
const [name, setName] = useState('');
const [email, setEmail] = useState('');
const handleSubmit = () => {
alert(`${name} ${email}`);
};
return (
<form>
<label htmlFor="name">Name: </label>
<input type="text"
id="name"
value={name}
onChange={(e) => setName(e.target.value)} />
<label htmlFor="email">Email: </label>
<input type="email"
id="email"
value={email}
onChange={(e) => setEmail(e.target.value)} />
<button onClick={handleSubmit}>Submit</button>
</form>
);
};Controlled inputs offer several advantages. By controlling the input state, it's easy to implement real-time validations and prevent invalid submissions before sending the data.
However, this approach can lead to more code, especially for complex forms. Each input requires the creation of a state variable, and frequent re-renders occur when updating values. These drawbacks can impact application performance for more complex and large-scale forms.
To optimize performance, a common trick is to use a debounce to reduce the number of re-renders when a user is typing. This avoids unnecessary DOM updates on every keystroke, resulting in a smoother user experience.
Uncontrolled Input
An "uncontrolled" input is an input whose value is managed by the DOM, and it does so efficiently. Remember that it's a native HTML component designed to interact with the user.
To make an input "uncontrolled" in React, simply use the special attribute `defaultValue`.
const UncontrolledInput = () => {
  return <input defaultValue={''} />
}
Here is the same form example as above, but this time with uncontrolled inputs:
const SignUp = () => {
const handleSubmit = (evt) => {
const form = evt.currentTarget;
// Using FormData (recommended)
// Don't forget to add the name attribute to inputs
const formData = new FormData(form)
const name = formData.get('name');
const email = formData.get('email');
/* Without FormData
const name = form.elements.name.value;
const email = form.elements.email.value;
*/
alert(`${name} ${email}`);
/* Resets the form */
form.reset();
};
return (
<form onSubmit={handleSubmit}>
<label htmlFor="name">Name: </label>
<input type="text"
id="name"
name="name"/>
<label htmlFor="email">Email: </label>
<input type="email"
id="email"
name="email"/>
<button type="submit">Submit</button>
</form>
);
};Here, there will be no re-render.
Note that since the inputs are wrapped inside a form, the `defaultValue` attribute is not mandatory.
Uncontrolled inputs are easier to implement for simple cases where real-time validation is not essential.
They avoid creating state variables for each input. However, this approach limits the ability to perform real-time data validation and is more challenging to set up. Data is only retrieved upon form submission.
When to Use Controlled or Uncontrolled Inputs?
Use a controlled input:
- If you need to manage a value linked to state and perform both reading and writing by modifying this state. For example, in an "Autocomplete" or incremental search.
- For complex forms with advanced state management and validation.
- Be cautious as it can quickly become complex to manage, but it offers more flexibility at that level.
Use an uncontrolled input:
- For simple forms with basic validation needs.
- If you want to perform an action (simple validation) when the input value changes. Use just the onChange event (avoid using useEffect and state).
- If you just want to read the value, you can do so using a ref with useRef, for example.
Conclusion
We have seen the difference between controlled and uncontrolled inputs.
We have also seen when to use them in general.
Generally speaking, using uncontrolled inputs is often the best way in most cases. It avoids re-renders, resulting in a smoother interface. The disadvantage (negligible, in my opinion) is that data validation and error message display, if needed, occur upon form submission.
To simplify working with forms (validations, complex forms), I recommend using the React Hook Form library.
References:
- https://react.dev/reference/react-dom/components/input
- https://react.dev/learn/sharing-state-between-components#controlled-and-uncontrolled-components